DIY Rosewood Fountain Pen
I made this rosewood fountain pen today and I haven't been this excited about a DIY project since I popped a tuque on top of a stool with some padding in about 5 minutes and had it published in a national magazine. (See that one on the old blog here.)

Here's where the adventure began. It's the basement seminar room of the Lee Valley store on King West in Toronto. A select group of press and bloggers were invited to learn wood turning on a lathe — just one of the many seminars hosted by all Lee Valley stores. A lathe works a bit like a rotisserie, but it cooks up beautiful wood, not chicken. You mount the raw wood material along that central horizontal spindle, put on all your protective gear, then turn it on. The lathe spins rapidly and you hold sharp objects to the wood to cut away bits and make your masterpiece. I'm experienced with tools but I must admit I was intimidated. I needn't have been.

The process of making a pen starts with cutting wood into these sizes and shapes — one for the barrel of the pen and the smaller one will be the cap. Each piece has also been drilled out with a metal tube inserted. This will allow it to be mounted onto the lathe and for the pen workings to fill it. All of that work was pre-done for us to save time, so all we had to do was choose a wood. I went with Indian Rosewood. Next we all got our lathe tutorial by instructor Amanda Blacoe of Mercure Pens. More about her amazing work later! Here's my vid of her instructions (please excuse my finger in the way now and then — note to self: work on video-making technique):

DIY Rosewood Fountain Pen Tutorial

1. Gather all materials. Wood pieces already fitted with tubes plus fountain pen hardware. Lee Valley has pen hardware in many styles.

2. Insert little metal tubes called bushings into the tubes inside the wood pieces and then slide the wood pieces onto lathe. Secure in place by tightening a washer and nut (far right).

3. Use the roughing gouge as demonstrated in the video above to trim away square edges to create rounded wood pieces.
Here's what my wood pieces looked like after using the roughing gouge.

4. Switch to the large spindle gouge to refine the pieces to the desired shape and to ensure that each end is flush with the bushing. I went with a slightly ellipse form (which truthfully I kind of regret — wish I had made it slim, straight and simple. No matter, I will just sign up for a seminar and make another!)

5. Sand the pen pieces beginning with 120 grit paper to work away any imperfections or tool marks. Then move to medium grit, then fine grit to smooth pieces.

6. Sealing and polishing wood is a 3-step process. Take a clean cloth and apply the Ultra Shine Polish wax liberally to the pieces of wood while still on lathe. Hold the cloth to the wood and turn on the lathe, rubbing in the wax well. Next, apply a quarter-size amount of Shellawax cream to cloth, turn on lathe and work well into wood. Lastly, apply a generous amount of French Polish lacquer to cloth, turn on lathe and hold cloth to wood, buffing to a high shine.
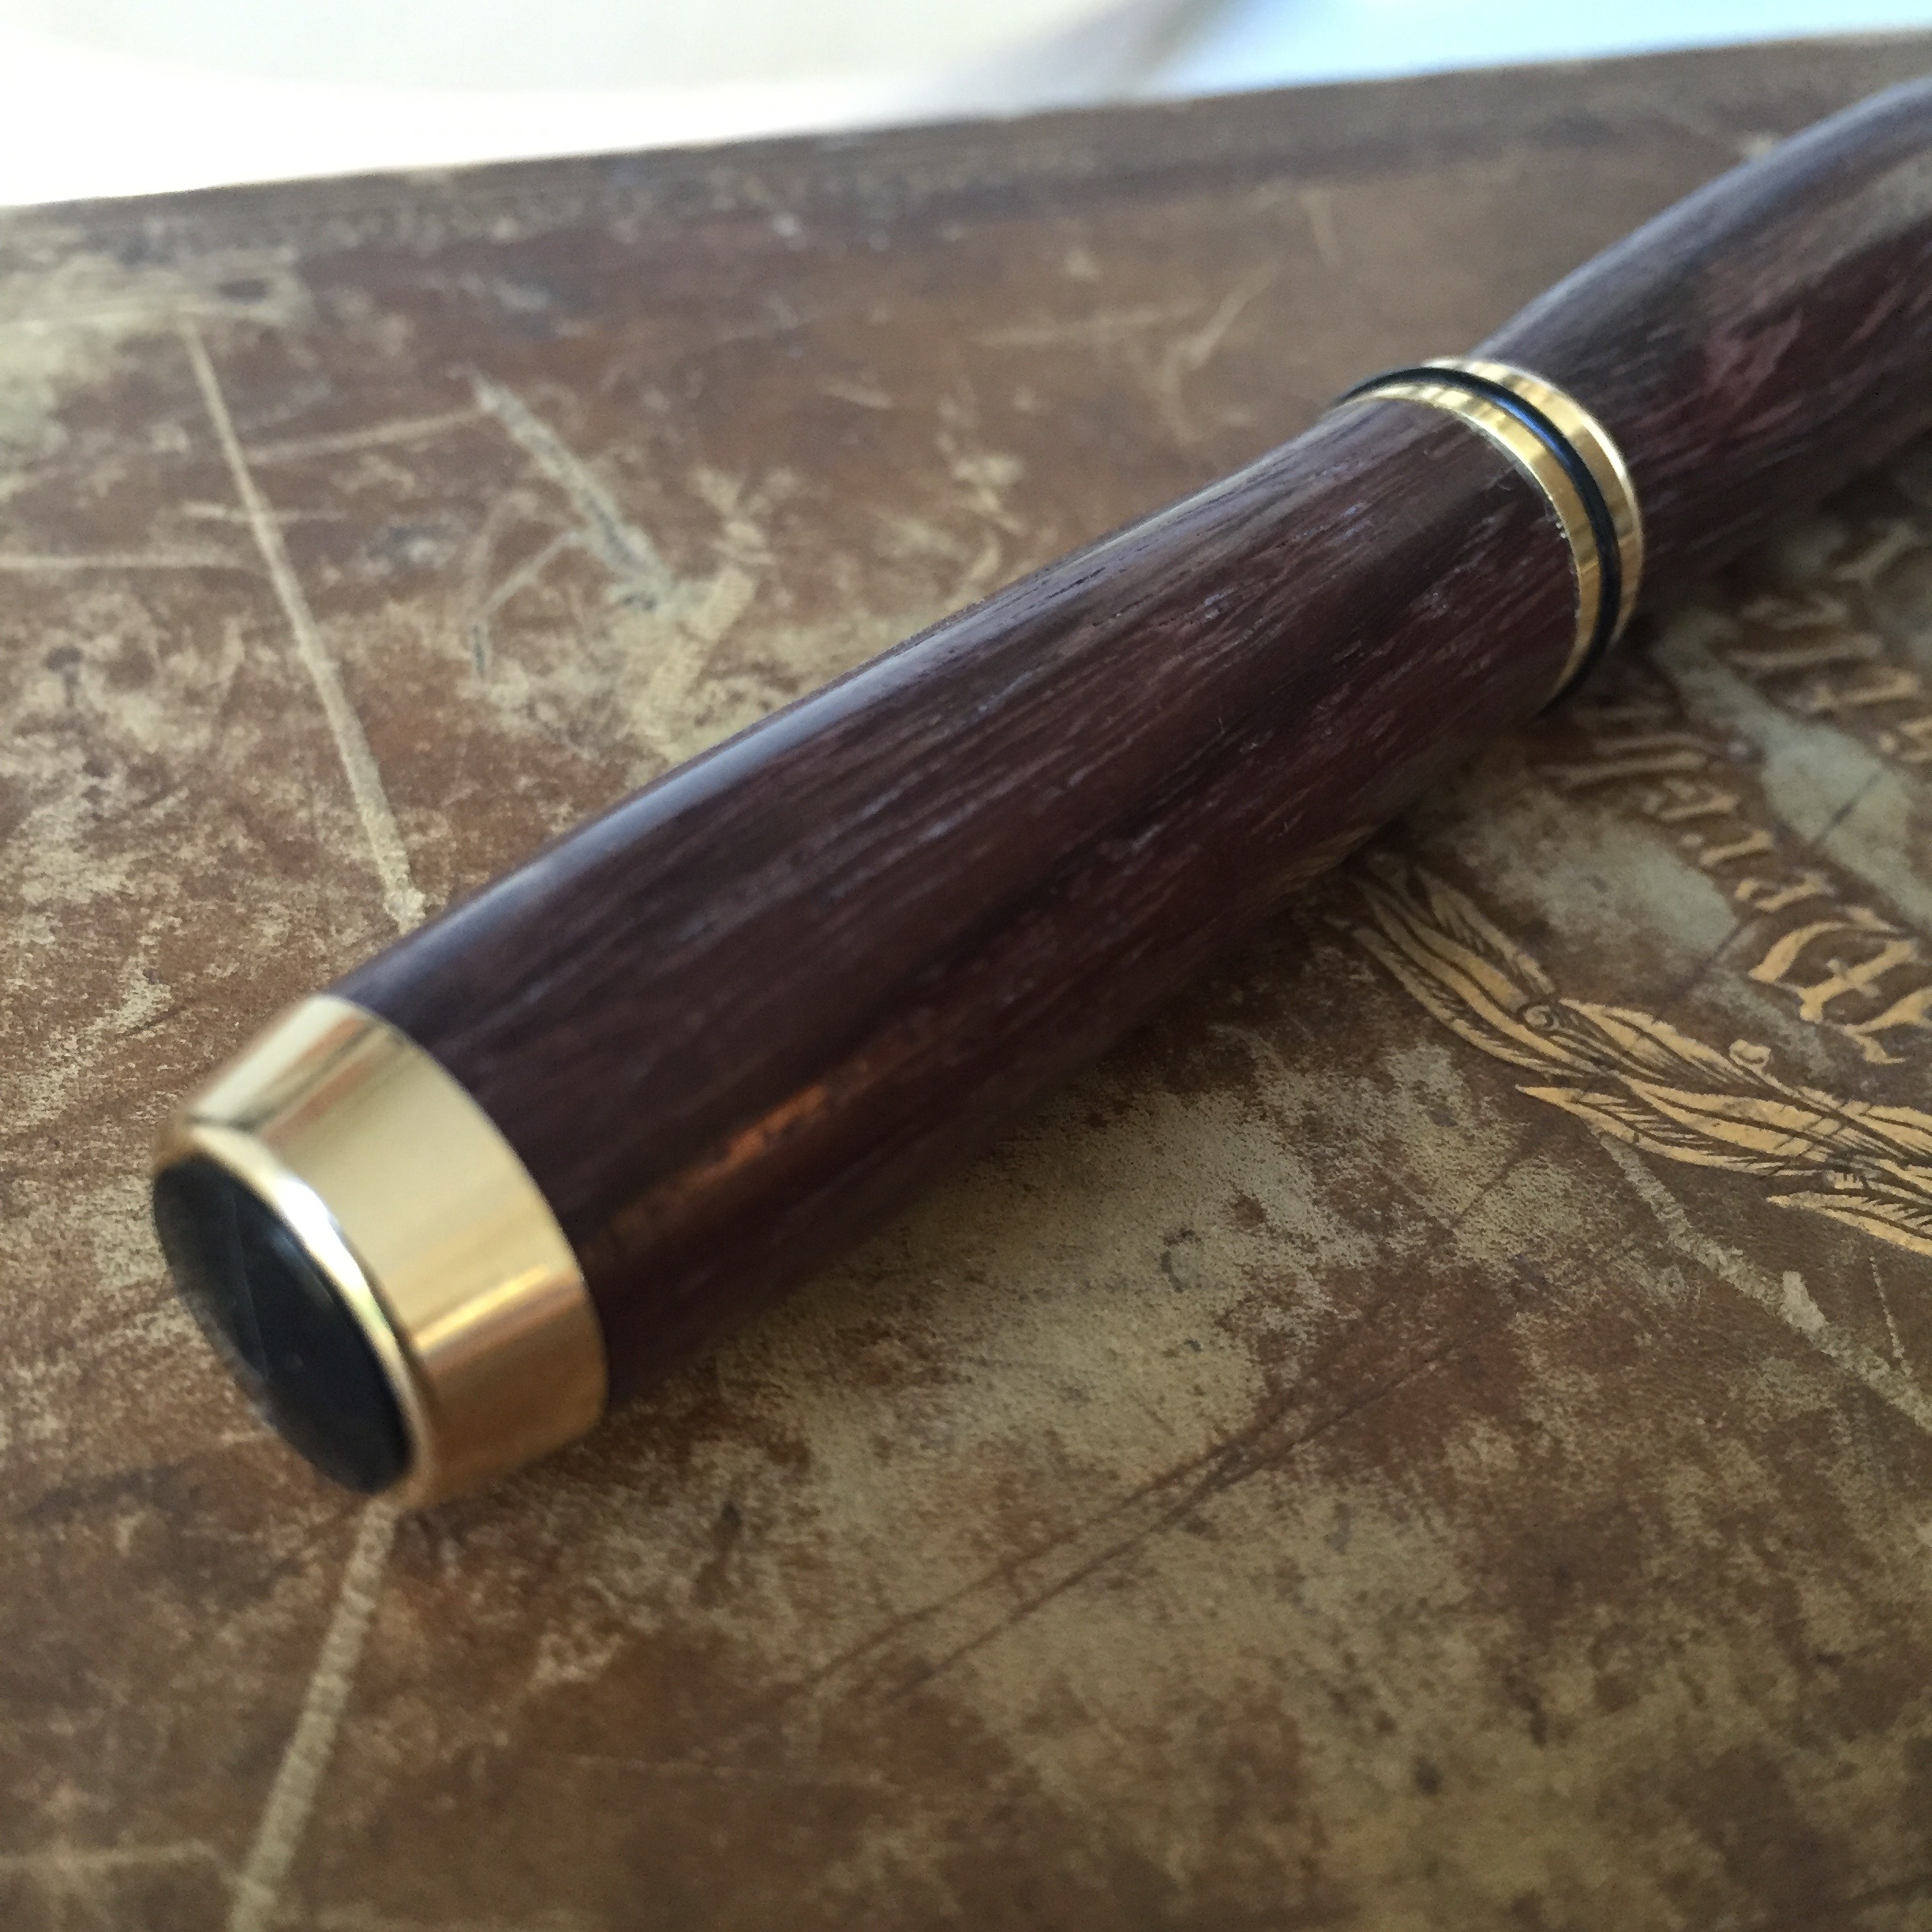
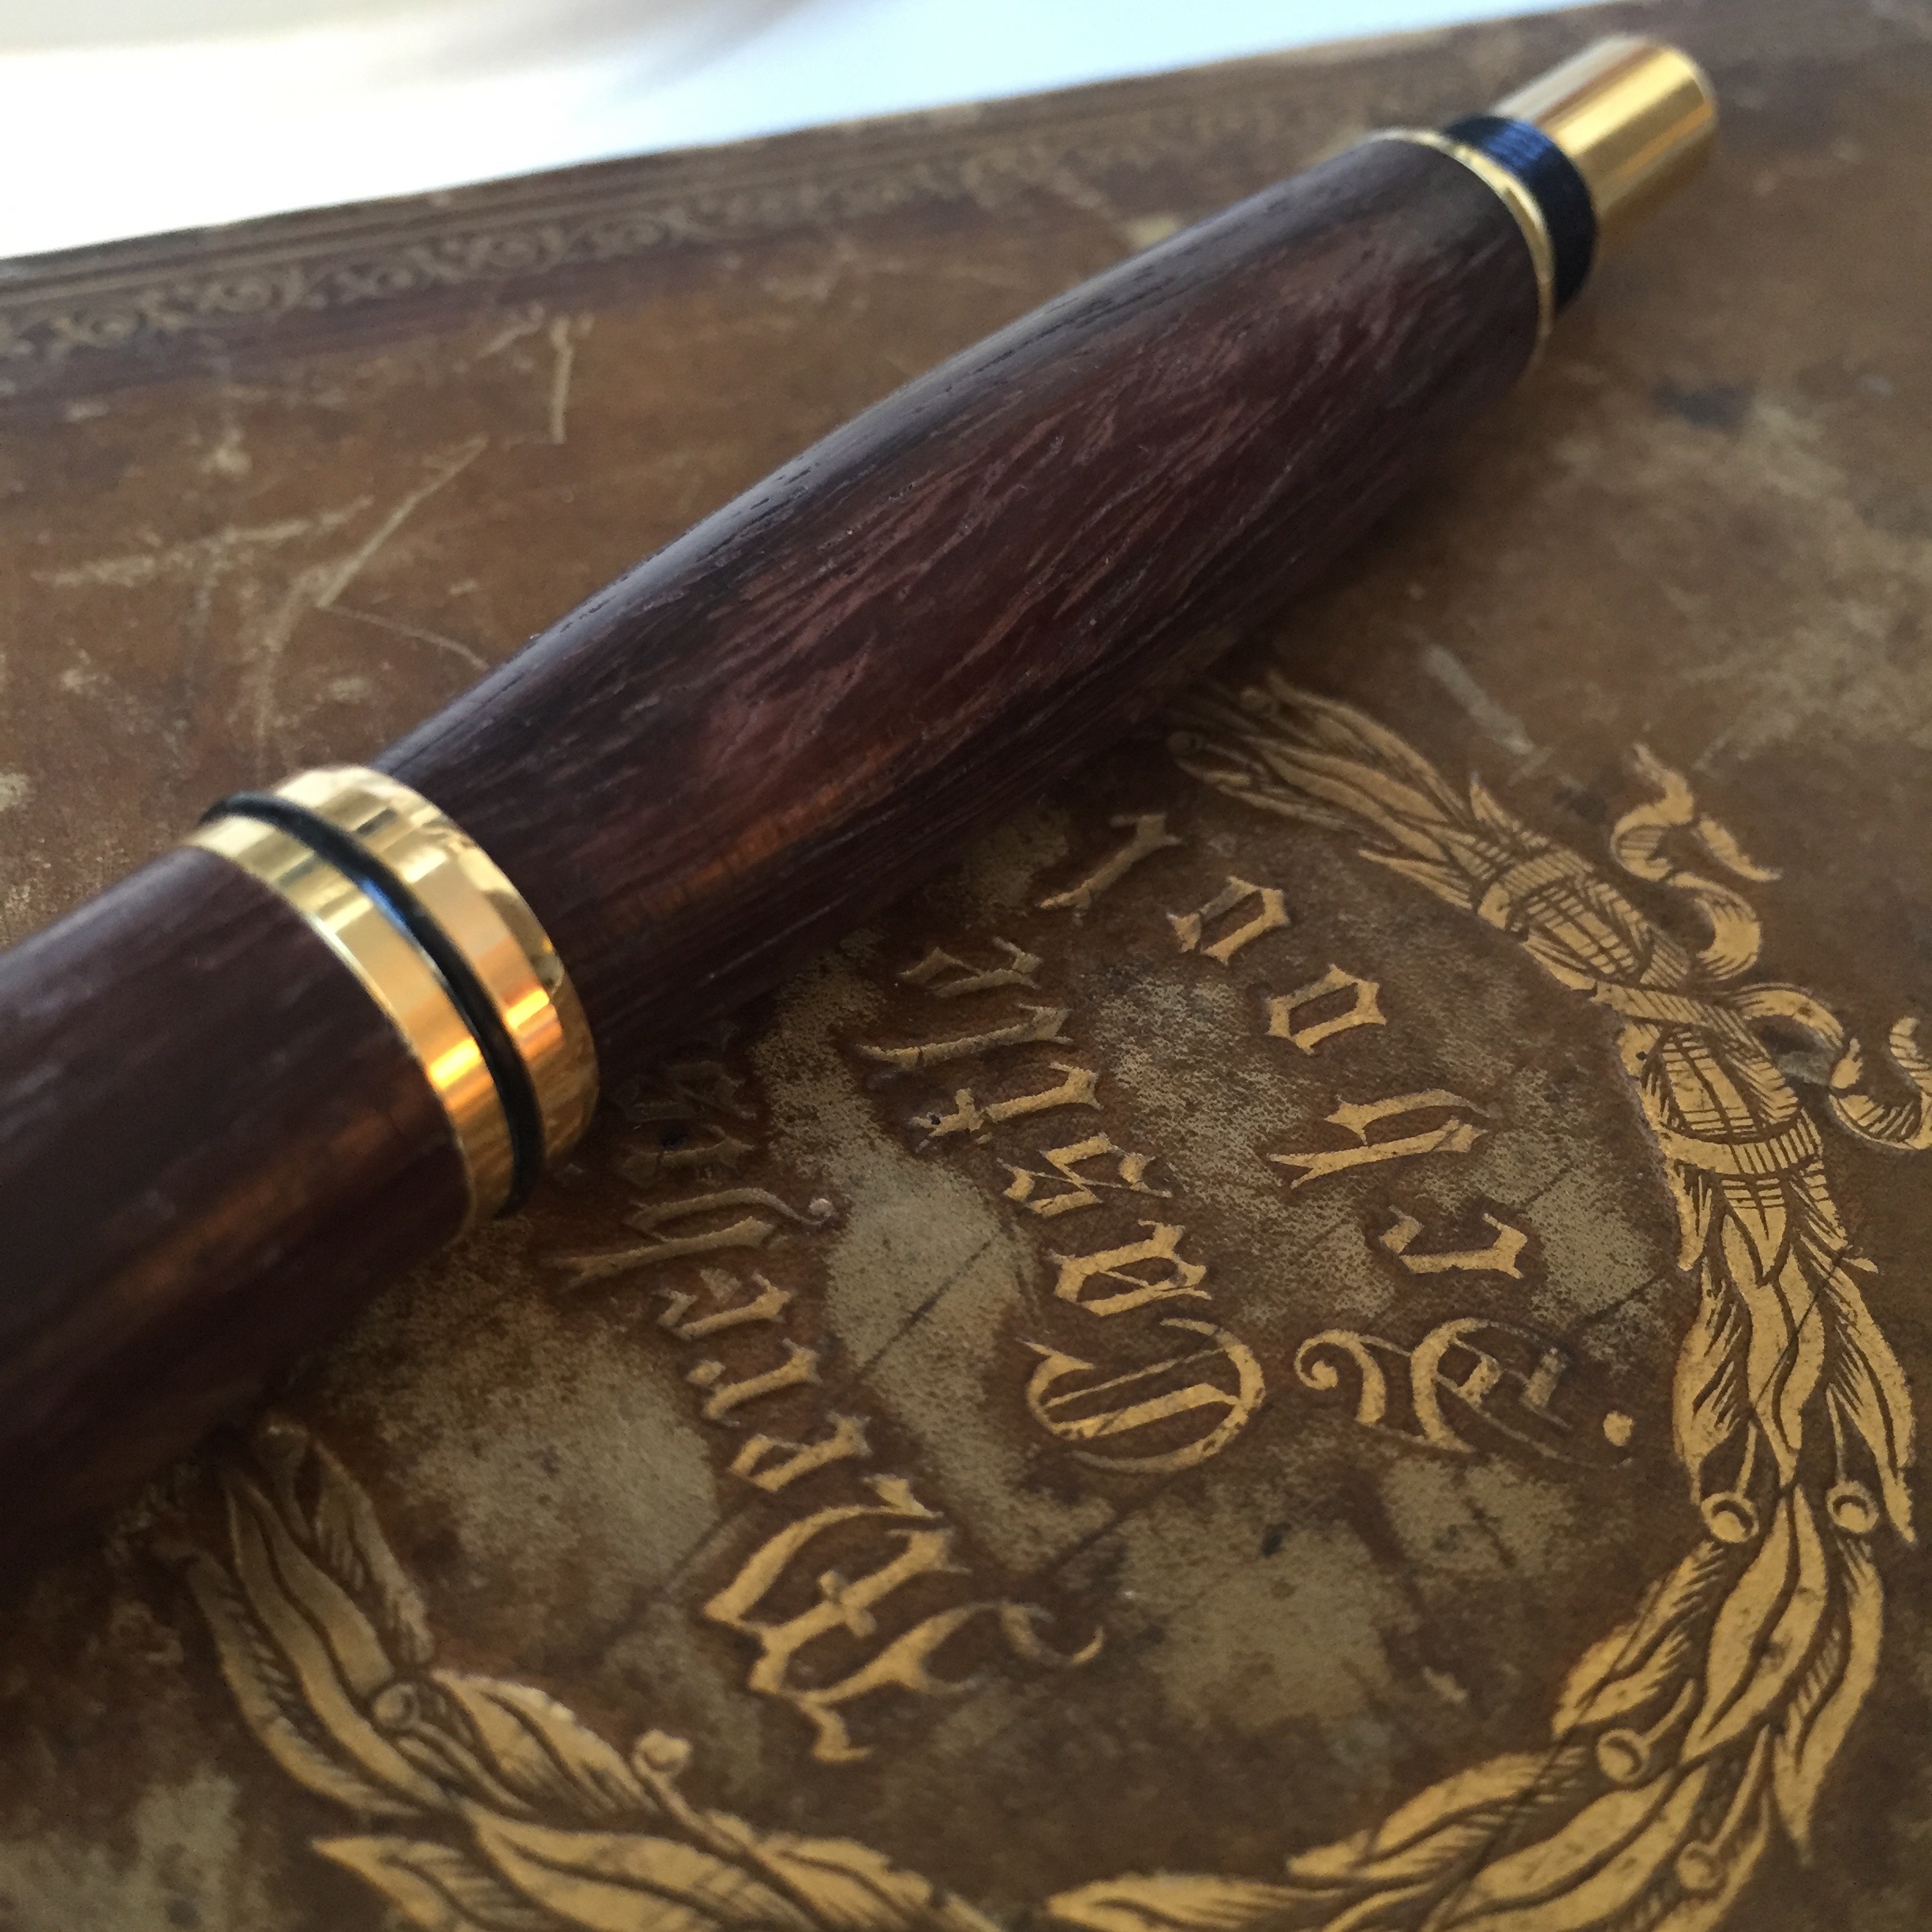
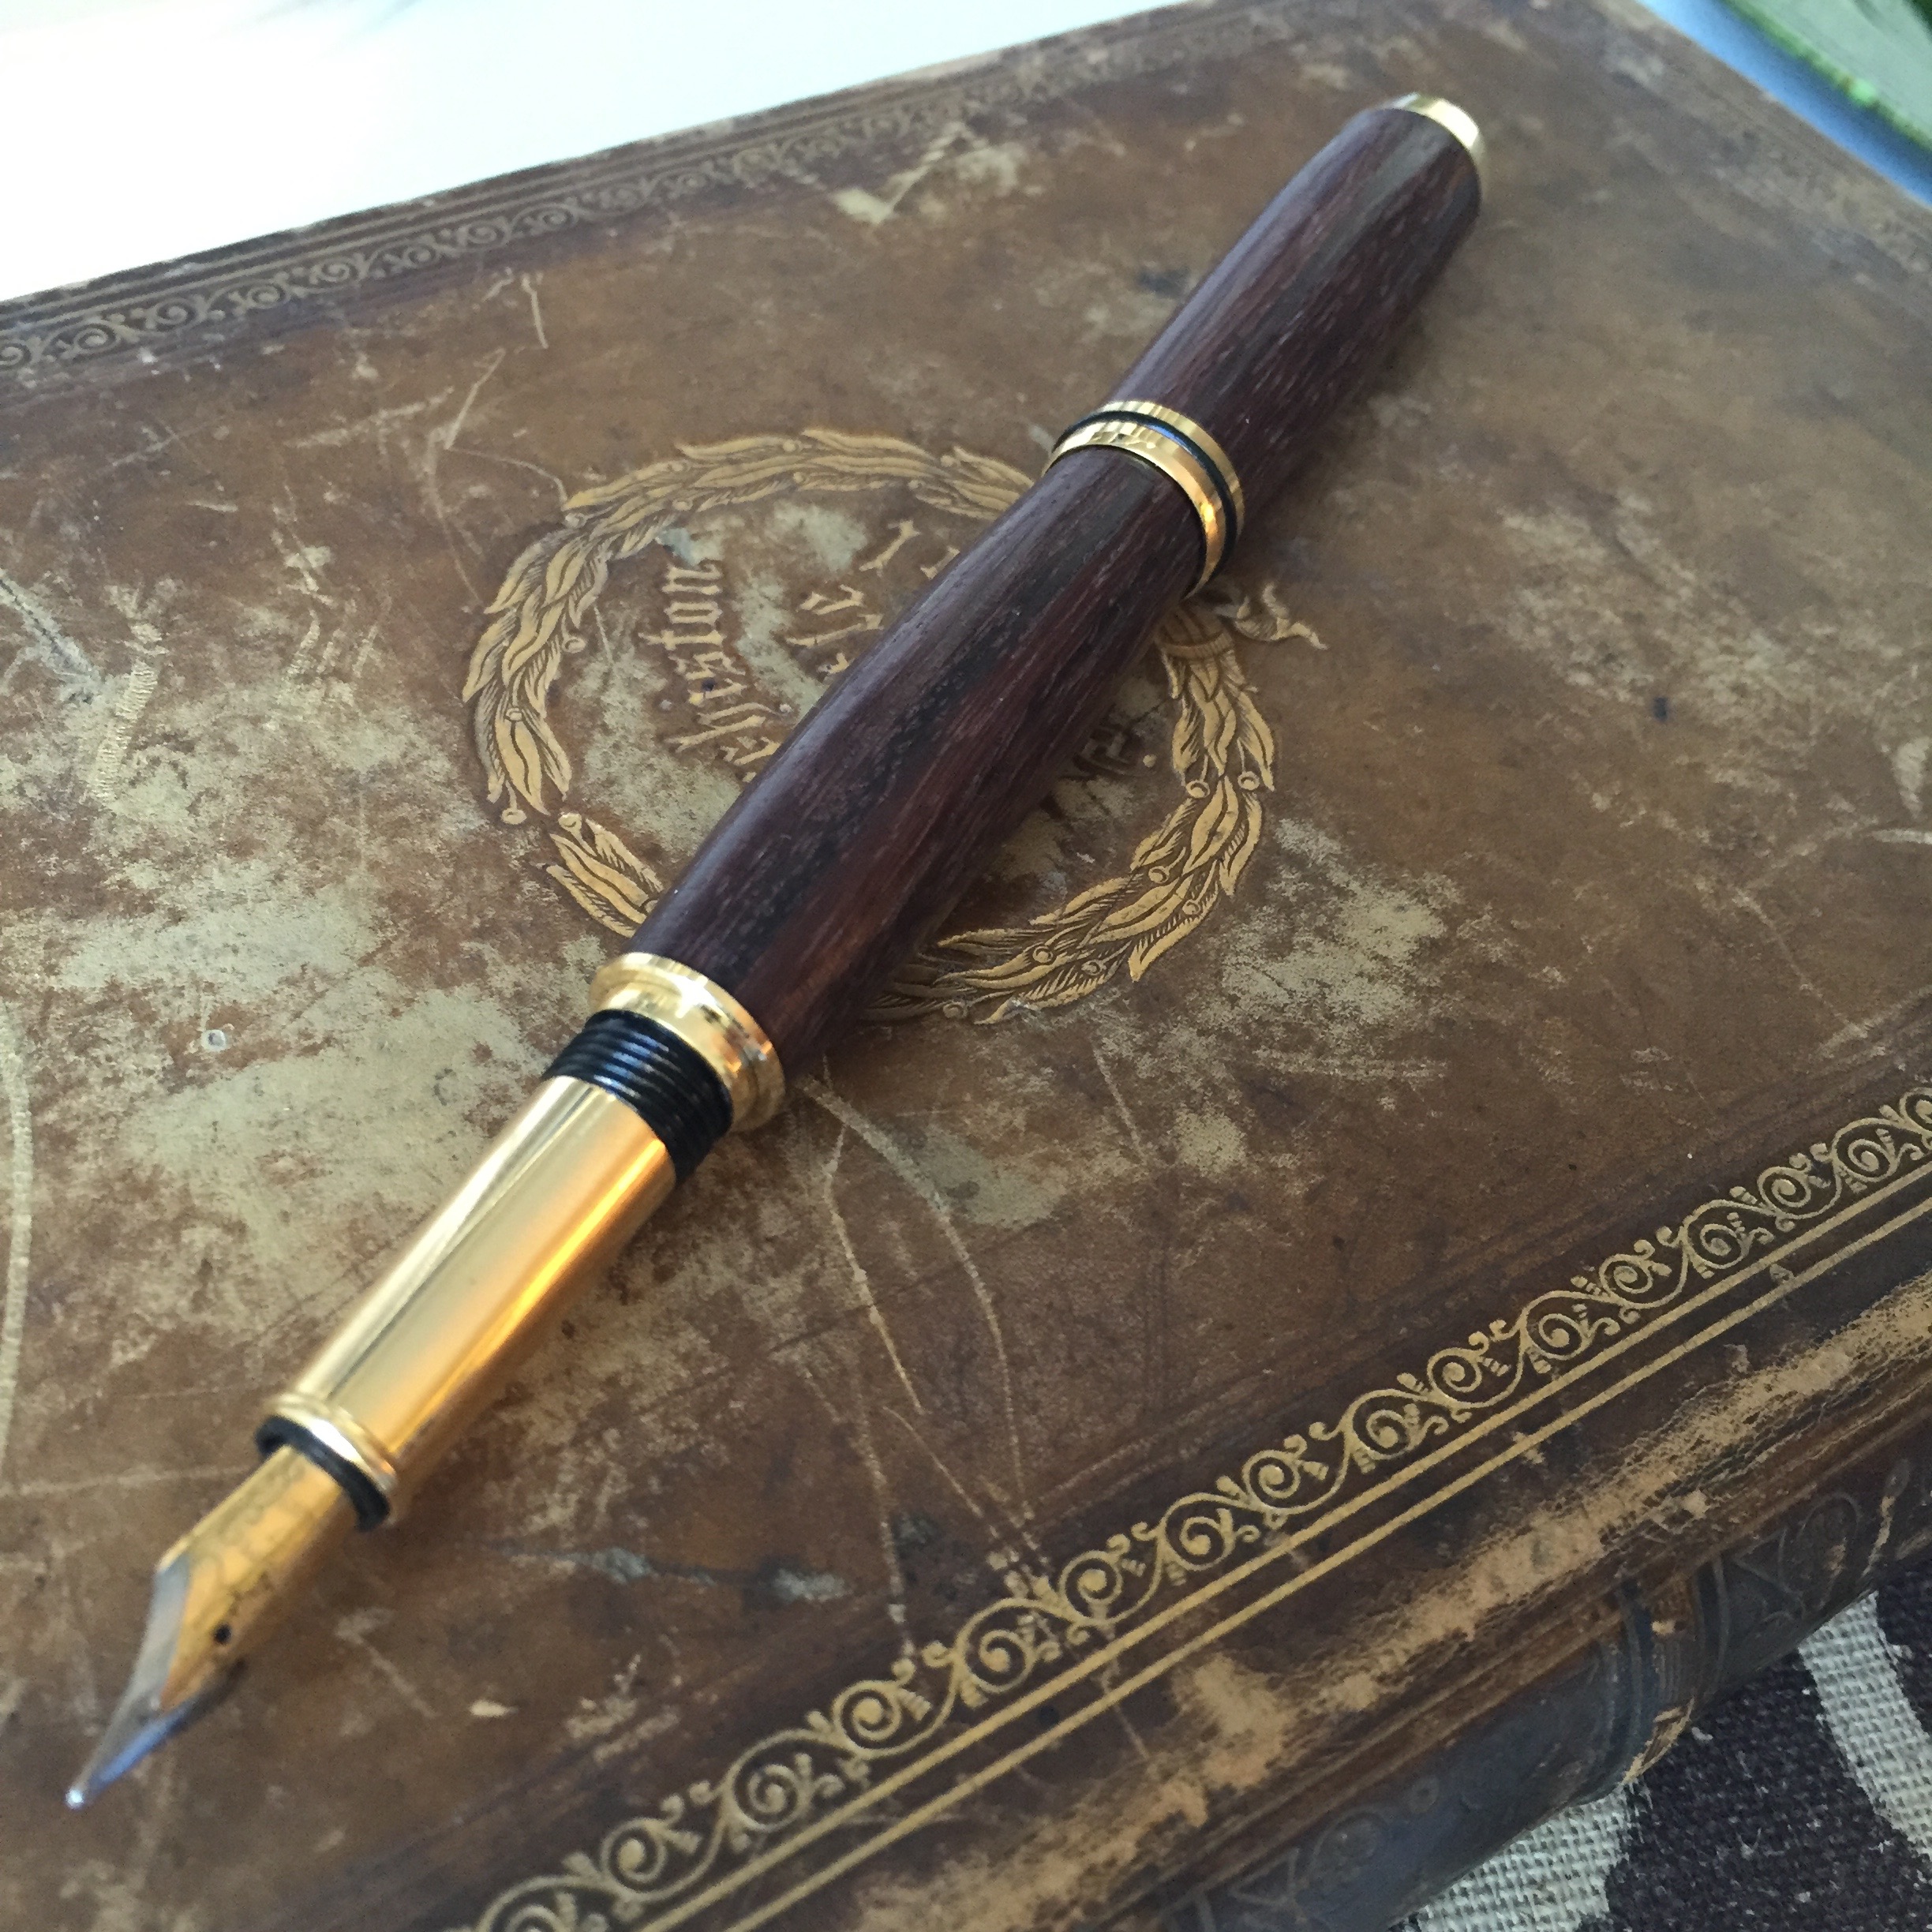
7. Assemble pen hardware according to package instructions. Insert ink cartridge (not included — I already had a bunch at home) and voilà: A stunning rosewood hand-turned fountain pen that writes like a dream.
And now as promised an introduction to the work of our instructor Amanda Blacoe of Mercure Pens. To say she is a master of the lathe would not be an exaggeration. She makes these lovely creations with finial ends that she presses into double-duty as hair sticks. So. Gorgeous.

These ones all in exquisite exotic woods are a mix of roller ball pens and Android styluses.
Take a closer look a those finials, all sculpted by Amanda and her trusty lathe. Why not pop over to Etsy and pick one up? Follow Amanda on the 'gram too.
I now know what I would like Santa to bring me for Christmas this year. Model A is the Rikon Basic Lathe for $539. and Model B is the Rikon Variable Speed for $849, both at Lee Valley Tools, of course. But Christmas is a long way off, so I may just sign up for another seminar so that I can make a sleek slim simple rollerball pen. The next one in the Toronto area is June 21 at the Vaughan store and costs $40. Check out the Lee Valley site for the full list of seminars and locations.
Meanwhile, when I got my pen home I could not stop taking pictures of it. FYI these, and all my shots, are iPhone6 only.